Christmas Angel Ice Cream Stick Craft

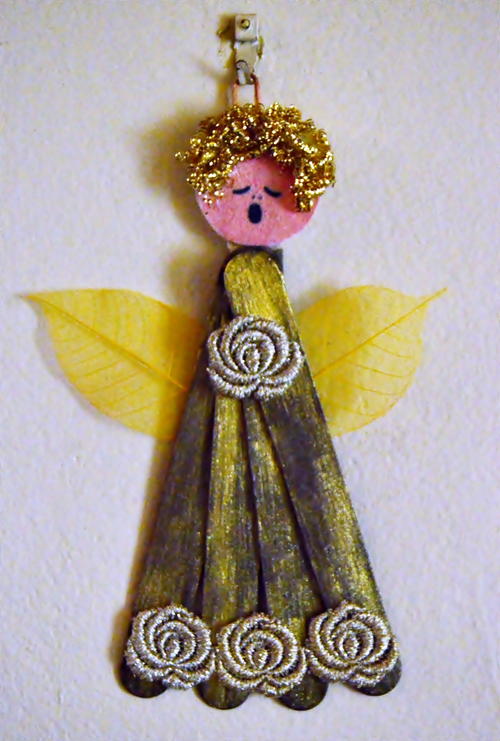
Who would have thought that ordinary ice cream sticks could be turned into beautiful angel crafts? This Christmas Angel Ice Cream Stick Craft will add a vintage touch to your Christmas decor, and she will also feel right at home if you add her to the top of your Christmas tree. These simple yet elegant angel craft ideas will add that special touch to your festive season! Popsicle stick crafts like this are a perfect way to spend those anxious days leading up to Christmas. Get your craft stick on!
Estimated Cost$21-$30
Time to CompleteIn an evening
Primary TechniqueMixed Media

HolidayChristmas
Materials List
- Five 5.5" long, 0.6" wide wooden ice cream sticks
- White felt
- Four flowers cut from leftover golden embroidered net lace fabric
- Brass scourer
- Two yellow skeleton leaves
- Flesh colored acrylic paint
- Mod Podge
- Kaisercraft bronze ink glimmer mist
- Rolkem gold dusting powder
- Artline 200 0.4mm fine black pen
- Hot glue gun and glue sticks
- Quick-drying craft glue (such as Bostik Clear)
- Two paintbrushes
- Small plastic bowl
- Round plastic lid with a diameter of 2"
- Pencil
Instructions
-
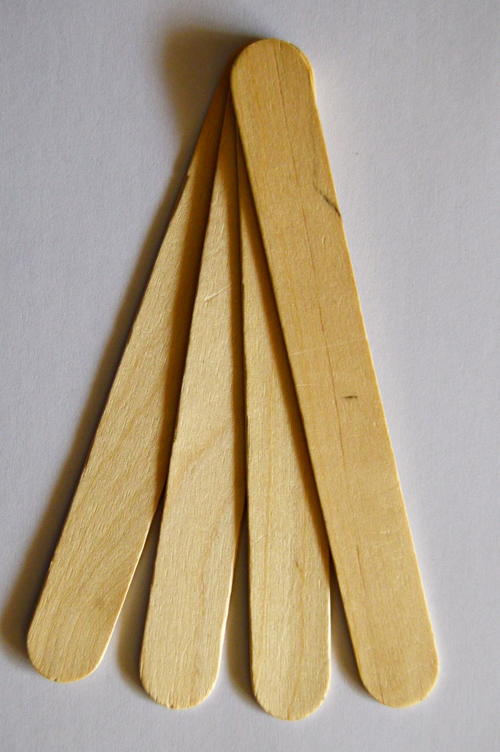
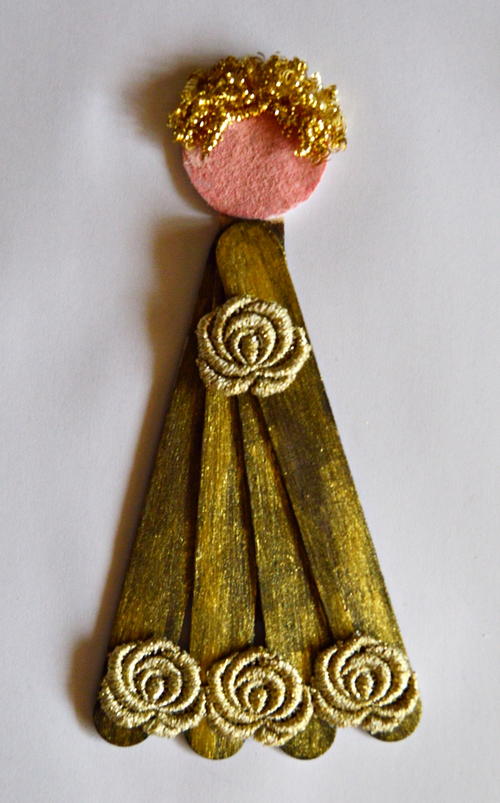
As shown in the photo, spread four sticks slightly apart on the one end and hot glue them together at the opposite end. This will be the angel's dress.
-
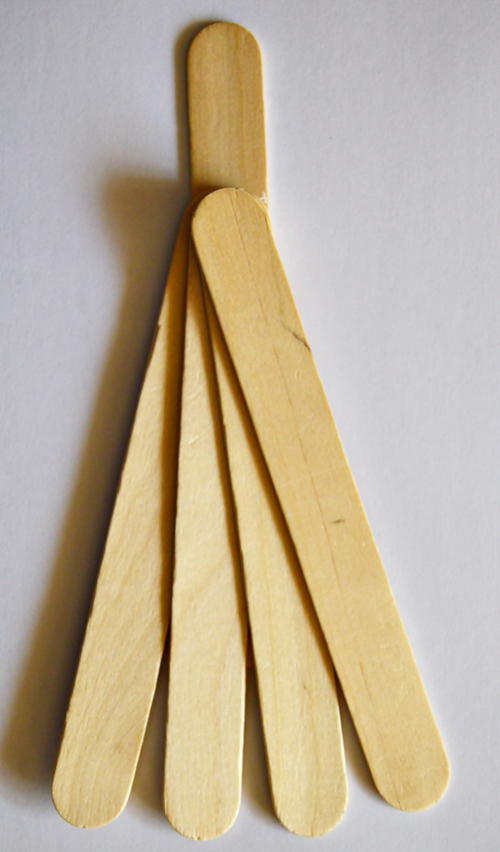
Hot glue the fifth stick behind the others so that it will protrude above the end where the four sticks were glued together.
-
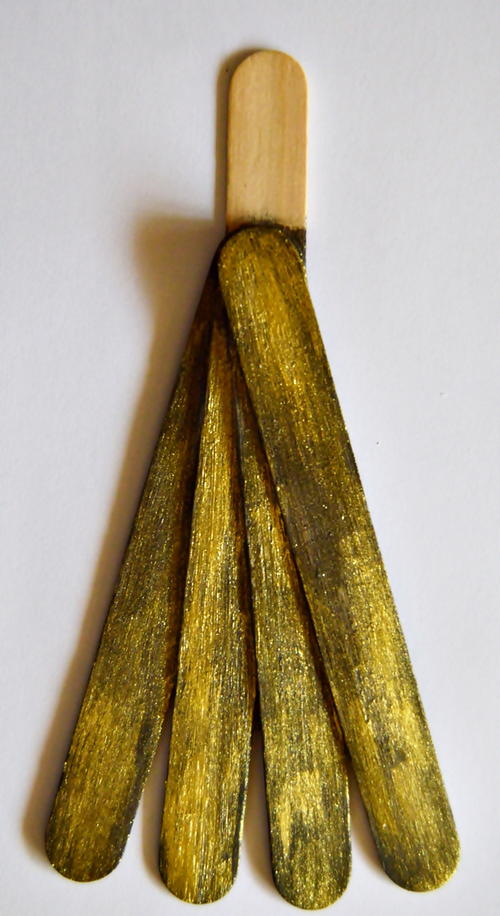
Spray some of the ink mist into the plastic bowl and use a paintbrush to apply ink mist to the angel's dress.
-
Use a dry paintbrush to add gold dusting powder over the angel's dress.
-
Paint a layer of Mod Podge over the angel's dress to keep the gold dust in place and allow to dry thoroughly.
-
Use Bostik and glue the flowers cut from the lace fabric to the seam and to the collar of the angel's dress.
-
Paint a piece of white felt with the flesh colored paint and allow to dry. Place the plastic lid onto the painted felt and use a pencil to trace around the lid. Remove the lid and cut the traced circle out.
-
Glue the felt circle to the part of the stick that protrudes above the dress.
-
Cut small pieces from the brass scourer. Use Bostik to glue it to the felt circle to make the angel's hair.
-
Use the black pen to draw facial features on the felt.
-
Use Bostik to secure the skeleton leaves at the back of the dress - this will be the angel's wings.
-
Use Bostik to secure a piece of embroidery floss to the back of the part of the stick that protrudes above the dress. Now you can hang and enjoy the angel.
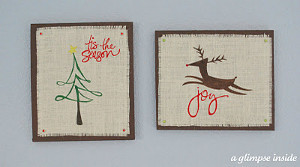
Read NextRustic Burlap Christmas Art


![Christmas Tree Advent Calendar [free Printable]](http://irepo.primecp.com/2020/11/474504/1606686091_861246_Category-CategoryPageDefault_ID-4064418.jpg?v=4064418)