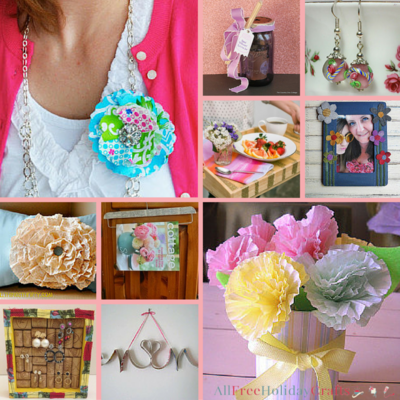
This project was submitted by one of our readers, just like you.
How To Make An Origami Paper Purse?

How To Make An Origami Paper Purse
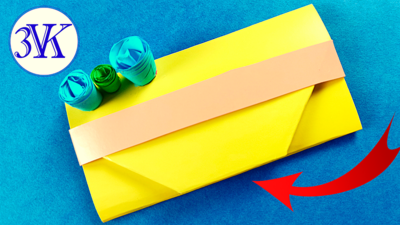
"Show your mom that she is so loved by making her an origami paper purse as a gift. A simple material for these purposes is paper. Due to the different density, variety of colors, beautiful things can be created from it. In this manual, we will talk about how to make a paper purse as a gift for mom. You can store clippings and other little things in such a product. For mom, a paper handbag will become an important detail. Watch a video on how to make a handbag out of colored paper. "
Primary TechniquePaper Crafts

Materials List
- A sheet of colored paper;
- Glue stick.
Instructions
-
Take a sheet of paper 15 * 15 cm Fold the sheet diagonally from the corner. Fold the sheet back. The result is a diagonal fold.
-
Fold the sheet in half horizontally. Expand the sheet. The result is a horizontal fold.
-
Fold the bottom and top sides of the square to the horizontal fold line.
-
Rotate the resulting rectangle 90 degrees and fold in half. Unbend the square back. The result is the center fold line of the rectangle.
-
Bend the top and bottom sides of the rectangle to the center line. Unscrew the top and bottom sides of the rectangle. The rectangle has 3 horizontal fold lines.
-
Spread the inner corners of the upper side of the rectangle to the sides.
-
And fold so that the top side lies against the center horizontal fold line of the rectangle.
-
Repeat step 6-7 on the other side of the rectangle. It turned out to be a hexagon.
-
Fold the upper right sharp corner towards the center as shown in the photo
-
Repeat step 9 with the remaining corners
-
We bend all the corners inside the square
-
Fold the resulting square in half so that the folds are outward.
-
Glue all triangular corners together. It turned out the inside of the bag
-
Take a rectangular sheet measuring 25 cm by 13 cm.
-
Place the inside on a rectangular sheet.
-
Fold the inner part into this sheet, fixing the fold line.
-
Expand the rectangle and glue the inside of the bag to it.
-
Fold the rest of the rectangle in half and glue together. This is the bag latch
-
Bend and glue the corners at the latch.
-
Make a bag clasp from a strip of paper and glue it.
-
Decorate your handbag. The bag is ready !!!
NotesPlease don't forget to subscribe to our YouTube channel 3 VK YT.