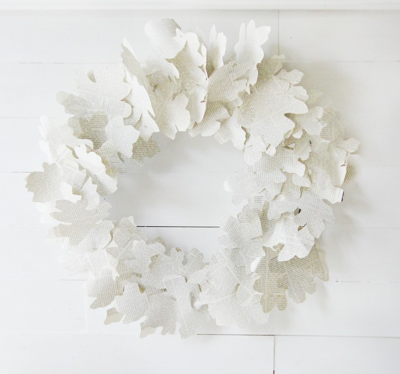
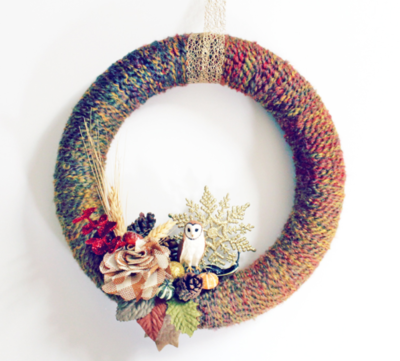
Thrifty Rustic DIY Fall Wreath

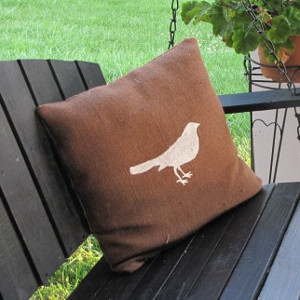
Forget spending lots of money on DIY rustic decor when you can make your own and have it look just as lovely. Make your own Thrifty Rustic DIY Fall Wreath from fun, fluffy burlap and hang it over the mantle for a gorgeous focal point. In colors inspired by nature, the burlap rosettes offer texture and interest for DIY home decor that looks stand-alone fabulous or can be easily embellished to suit any occasion. Once you hang this DIY rustic home decor in your house, everything will feel much more quaint.
Estimated CostUnder $10
Time to CompleteIn an evening
MaterialsCraft Foam, Fabric
Primary TechniqueFlorals/Wreaths

SeasonFall
Materials List
- Aleene's Tacky Double-Stick Sheets
- 20" square foam board
- Stapler
- Burlap (white, beige, red, brown - 1/2 yard each)
- Scissors
Instructions
-
Cut foam board into a 20-inch circle.
-
Cut a second circle from foam board circle to create a 6-inch wide wreath form.
-
Cut burlap into circles: (6) 8-inch circles of white burlap for large rosettes, (12) 6-inch circles of beige burlap, (12) 6-inch circles of red burlap, (12) 6-inch circles of brown burlap.
-
Cut Double-Stick Sheets into circles: (6) 4-inch for large rosettes, (36) 2 1/2 inch
-
Cut circle of burlap into a 1-inch spiral from the edge of the fabric to the center.
-
Peel away liner on Double-Stick circle, exposing adhesive.
-
Press one edge of the fabric onto the adhesive, going around the edge of the circle, gathering the burlap with fingers and continuin in a spiral to the center of the circle. Press firmly with fingers to ensure it has adhered.
-
Create six 6-inch rosettes with white burlap on six 6-inch Double-Stick circles. Create 36 4-inch rosettes with the beige, red, and brown 4-inch circles.
-
Lay all the burlap rosettes on the wreath form for placement
-
Peel off liner from each rosette and adhere to the wreath form.
-
Use stapler in the center of each rosette to reinforce the adhesive.
NotesWreath uses 4 packs of Tacky Double-Stick Sheets.
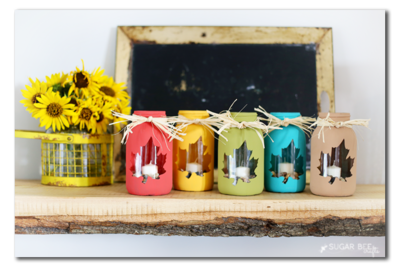
Read NextFriendly Fall Mason Jar Craft
Your Recently Viewed Projects

Thanks for your comment. Don't forget to share!
Ask93 7929298
Oct 27, 2016
As lovely as the Rustic DIY wreath looks I would have really appreciated some step out pictures. I am not sure I understand how to make each floral. But it definitely is a beautiful looking wreath. And where does one find the burlap in different colors? And if I dont have those Aleene sheets is there another way to make the florettes.
paver2
Jul 25, 2018
I do a lot of substituting when it comes to things like this. I suspect any fabric would work in place of burlap but if you want the same effect, you could tease the cut edges. As far as Alene's tacky pages, I don't know, but why not try tacky glue or double sided tape, then use the stapler to make it stay?
Report Inappropriate Comment
Are you sure you would like to report this comment? It will be flagged for our moderators to take action.
Thank you for taking the time to improve the content on our site.