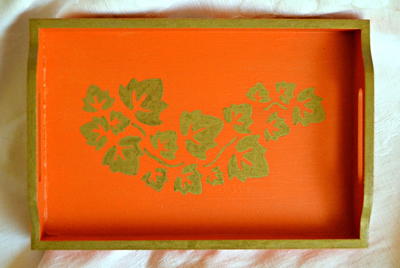
Golden Leaves DIY Serving Tray

Celebrate the autumn season with DIY fall decor. By painting leaves in bold orange and gold colors, you can turn an ordinary tray into this spectacular Golden Leaves DIY Serving Tray. The tray is big enough to hold two mugs, so it adds a special touch to an early morning’s coffee, or for a visit with a friend. DIY home decor for fall can really bring the beauty of the season in the house where you can enjoy it all day long. Add a splash of autumn color with DIY room decor like this, and you will love the result.
Estimated Cost$11-$20
Time to CompleteIn an evening
MaterialsPaint, Wood
Primary TechniquePainting

SeasonFall
Materials List
- Natural wooden tray sized 5.6" x 8.4"
- Meyco stencil of vine leaves
- Orange Crush acrylic paint
- Pilot gold marker extra fine point pen
- Paintbrush
- Standard scissors
- Pencil
- Quick-drying gloss spray varnish
Instructions
-
Add a layer of orange paint to the tray and allow to dry thoroughly. Do not paint the outer bottom of the tray.
-
Repeat step 1, again allowing to dry before continuing with the rest of the steps.
-
Cut a section from the Meyco stencil that would fit in the inner bottom of the tray. Place the part of the stencil in the tray and use the pencil to lightly trace the stencil onto the inner bottom of the tray.
-
Use the Pilot gold marker to draw over the pencil lines and then color the leaves with the pen. Be careful not to touch on parts that have already been colored, as the gold will only be fixed once varnish has been applied.
-
Use the gold pen to add a border all around the edges of the tray. Do not color the edges of the tray’s cut-out handles.
-
Spray the tray with the varnish. Allow to dry thoroughly before applying a second coat of varnish.
NotesTo clean, wipe gently with a damp cloth.
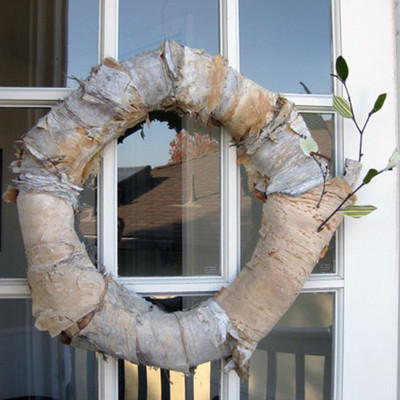
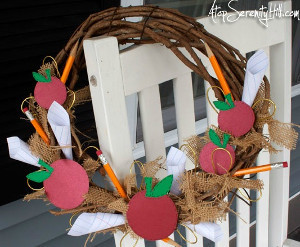
Read NextBack to School Wreath