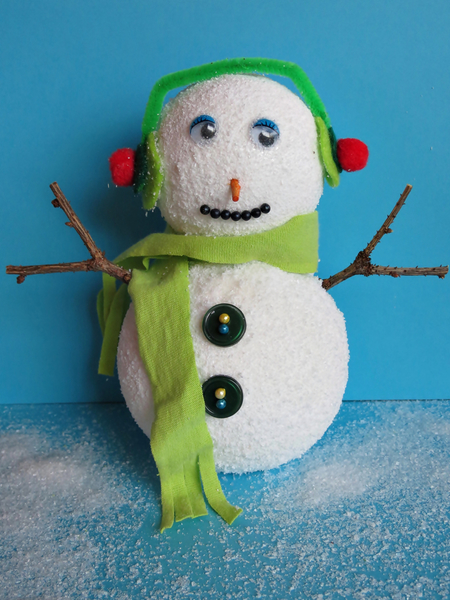
Wee Little Styrofoam Snowman
This Wee Little Styrofoam Snowman is an easy snowman craft that will keep you feeling warm and cozy inside during the holiday season.When you celebrate sweater weather and snowflakes, be sure to think of adding a cute snowman to your mantelpiece, bedside table, or desk to bring snowy cheer inside without the cold. This craft might be a great addition to your list of winter crafts for kids, too. They will love to create their very own frosty friend to display on the counter all winter long.

Materials:
- 100mm polystyrene ball
- 80mm polystyrene ball
- Small pieces of dark green and light green felt
- Two 15mm red pom-poms
- Two small twigs
- Two kebab sticks
- Two dark green buttons
- One pair of 10mm blue wiggle eyes
- One 6mm thick green pipe cleaner
- Seven black sewing pins
- Two yellow colored sewing pins
- Two blue colored sewing pins
- Old color-matching t-shirt
- Epsom salt
- Heritage spray-on contact glue
- Polystyrene glue
- Quick-drying craft glue (such as Bostik)
- Orange felt-tip pen
- Standard scissors
- Sharp knife
Instructions:
- Use the knife to cut a small piece off the bottom of the 100mm ball, so that the snowman will be able to stand.

- Cut one of the kebab sticks shorter and push the one end into the top of the 100mm ball.
- Spray Heritage Contact Glue over the top of the ball.
- Now push the 80mm ball onto the stick to give the body of the snowman a head.

- Use the Heritage Contact Glue to glue the eyes in place and allow to dry thoroughly.
- Spray the bottom ball with the Heritage Contact Glue and sprinkle Epsom salt over the glue while it is still wet. Keep on spraying and adding salt until the whole bottom ball has been covered with “snow.”
- Repeat Step 6 with the top ball.
- Use the yellow and blue colored sewing pins to affix the buttons to the bottom ball.
- Make the ear muffs but cutting the pipe cleaner shorter and bend it around the snowman’s head.
- Cut two circles from the light green felt and use the Bostik to glue these to both inside ends of the pipe cleaner.
- Cut two smaller circles from the dark green felt and glue these to the outside on top of the light green circles.
- Glue the small pom-poms on top of the dark green circles.

- Use the polystyrene glue to glue the ear muffs in place.

- Cut a small piece from the second kebab stick and use the orange felt-tip pen to color it orange. Push it into the top ball to form the nose.
- Use the black sewing pins to make a mouth.

- Cut the twigs to size and push them into the bottom ball to add the snowman’s arms.
- From the old T-shirt, cut off the seam and then cut a long strip from the shirt to make a scarf. At both ends of the strip cut from the T-shirt, make small incisions, so that it will look as if the scarf has fringes.
- Drape the scarf around the snowman’s neck.
- Dust the area around the snowman with Epsom salt so that it will look as if it is snowing.
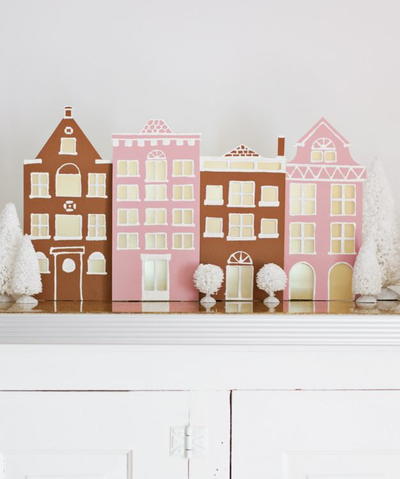
Read NextSimple DIY Winter Village
Your Recently Viewed Projects

Thanks for your comment. Don't forget to share!
Report Inappropriate Comment
Are you sure you would like to report this comment? It will be flagged for our moderators to take action.
Thank you for taking the time to improve the content on our site.