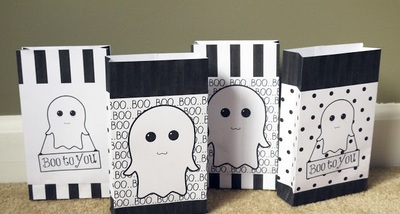
Halloween Paper Treat Bag Tutorial
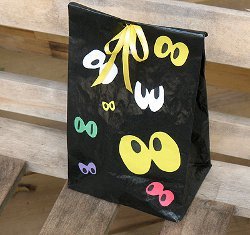
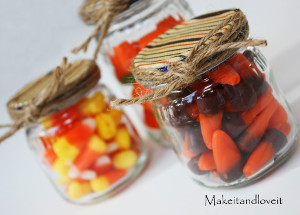
Want to learn how to make adorable Halloween candy bags perfect to use as party favors or just to hold some of your trick or treat loot? Follow the easy steps of this Halloween Paper Treat Bag Tutorial to find out how it's done! If you'd like to watch a video on how to make this cute trick or treat bag, simply visit our YouTube channel!
For more projects by Carlene, check out her designer profile page!
Materials:
- Black ink pad
- Rubberstamp
- Liquid glue
- 1 ¾” circle punch
- 2 coordinating cardstock pieces
- ¾” x 7” strip in black
- 5”x7” envelope
- White cardstock
- Stapler
Instructions:
1. Glue flap of envelope shut using liquid glue.
2. Cut off 1/8” off the right or left side of envelope. That will be your top.
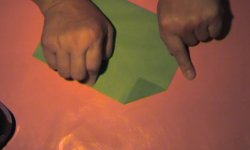
3. Fold one corner inward to form a triangle. Fold the other side. This is your bottom.
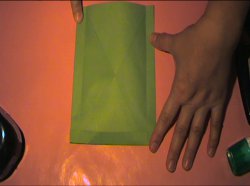
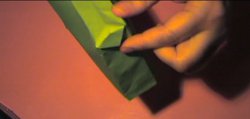
4. Take the right side and fold it in ½”. Do the same on the left side.
5. You can unfold your triangles on the bottom. And create a second fold of ½”.
All three sides will have a ½” fold as shown.
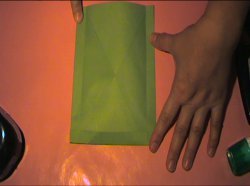
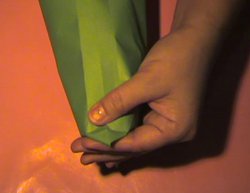
6. Place your hand into envelope for support.
7. Turn your envelope to one side, find your triangle, and squeeze down to crease your paper. This forms a point and will start a gusset on the side of your envelope.
8. Do the same thing on the other side. Yo should have creases on both sides of the envelope now.
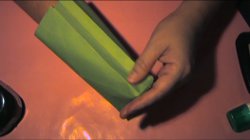
9. Crease the bottom of your envelope. And glue the points to the bottom of your bag.
10. Measure the front side of your bag, and create two cardstock pieces for layering. In this example i am using an orange cardstock piece, and a striped cardstock piece.
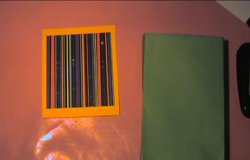
11. Glue your layered cardstock to the front of your bag.
12. Using your ink pad, ink and stamp your image onto white cardstock.
13. Punch out your image with your circle punch. Glue to front of layers.
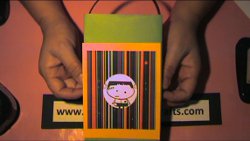
14. Lastly, staple the black strip to the top of your bag.

Read NextCute Halloween Loot Bag Ideas