How To Create a Pumpkin With Paper Strips
Looking for ideas for homemade Halloween decorations that you can make on the cheap? These paper pumpkin crafts are a great way to add some Halloween flair to your home. Plus they're super simple to make! Learn How To Create a Pumpkin With Paper Strips by following these pumpkin globe instructions and watching the accompanying video tutorial.
For more projects by Carlene, check out her designer profile page!
Materials:
- 14 ½” X 6” strips of cardstock or construction paper
- 2 brads
- Ribbon for bow
- 2 leafs
- 1/8” hole punch
- 1” circle punch
- Glue
- Paper cutter or scissors
Instructions:
1. Cut 14 ½” strips of cardstock or construction paper.
2. About ¼ inch from edge, punch 1/8” holes in top and bottom of each piece.
3. Stack strips together. Place one brad through all holes on one side. Fasten to paper.

4. Start forming round pumpkin shape by bringing loose edge to top.

5. Put other brad in last punched holes on strips.
6. Shape into pumpkin by pushing down.
7. Add leaves and ribbon to top of pumpkin with glue.
8. Punch 1” circle and glue to bottom of pumpkin for stability.

For more pumpkin ideas, check out our page of 28 Pumpkin Patterns Free For You To Enjoy!
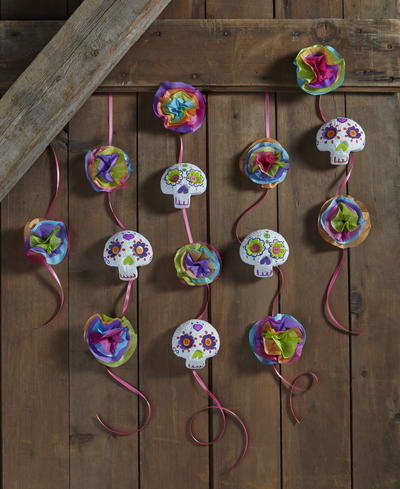
Read NextDay of the Dead Garland