Witch Hat Topiary Halloween Centerpiece
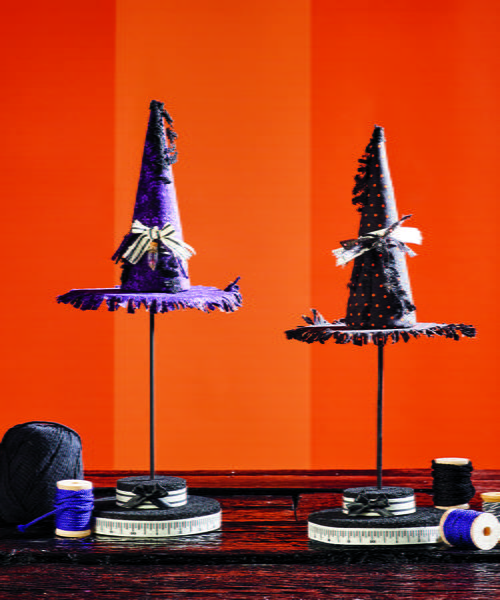
Celebrate Halloween with a spooky meal and be sure to dress up your table with this Witch Hat Topiary Halloween Centerpiece. Think outside the box when planning your Halloween craft projects and add a ghoulish touch to your table. DIY centerpieces are a great option if you can't hang decorations on your walls. Skip the adhesive stains and nail holes in favor of a cool homemade Halloween topiary that you can display on a table or leave on a mantel or desk.
Primary TechniqueGeneral Crafts

SeasonFall
See this and more great Halloween decor ideas in our new eBook, 18 Easy DIY Halloween Projects.
Materials:
- FloraCraft® Make It: Fun® Foam:
- Cones: (2) 6”
- Discs: (2) 3” and (2) 6”
Other Materials:
- Fabric: (2) Coordinating Colors/Patterns
- Acrylic Paint: Black
- Decorative Ribbon
- Thin Satin Ribbon: Black
- Lace: Black
- Metal Charms
- Poster Board: Black
- (2) 12” Wooden Dowels
- (2) Pearl Head Pins
- Tools:
- Low-Temp Glue Gun
- Scissors
- Paint Brush
Instructions:
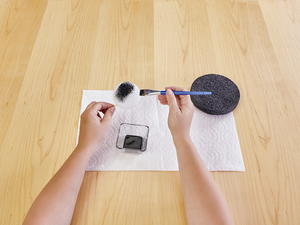
- Paint foam discs and wooden dowels black and let dry. Tip: Insert a toothpick into foam to use as a handle while painting.
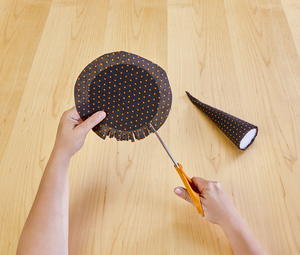
- Cut fabric to fit each cone, leaving a 2” overhang at the top and ½” overhang at the bottom. Glue fabric around cone forming a point at the top.
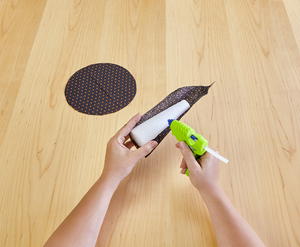
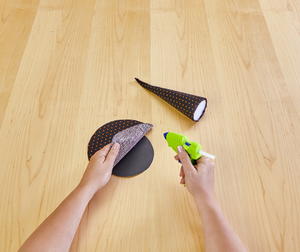
- Cut a 6” circle from the black poster board. Cut an 8” circle from the fabric. Glue the paper circle to the back of the fabric circle, centered. Cut fringe in overhanging fabric. Glue cone to fabric circle to create the hat.
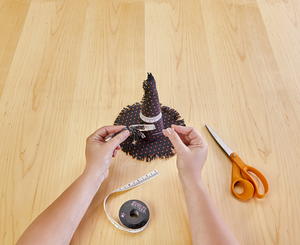
- Tie small strips of lace to the top of the hats. Pin ribbon, lace and charms to hats as embellishments.
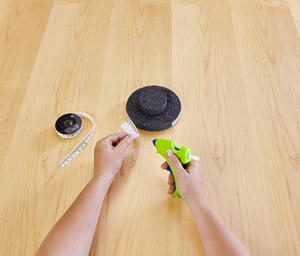
- Glue the 3” discs on top of the 6” discs, centered. Glue ribbon around the edge of the discs. Glue small, black, satin bows to the front of the 3” discs.
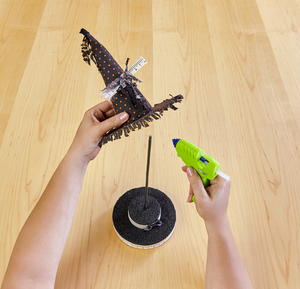
- Cut one dowel to 9”. Glue a dowel into the center of each base. Insert the other end into the bottom of the hats and glue to secure in place.


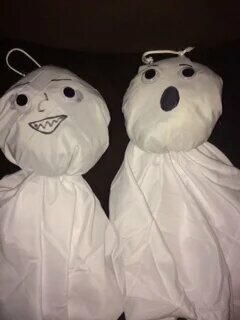
Read NextPillow Case Ghost