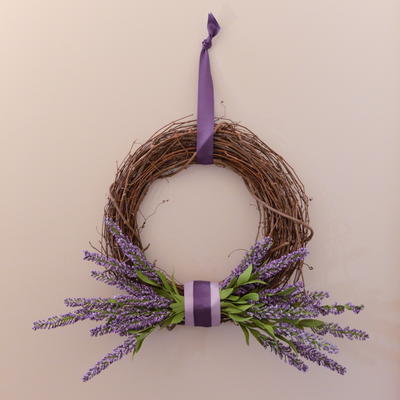
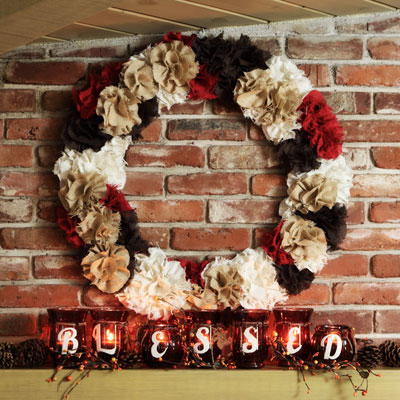
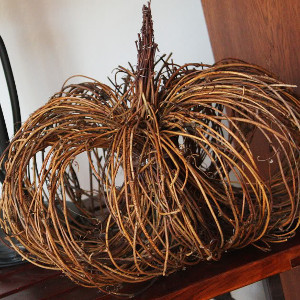
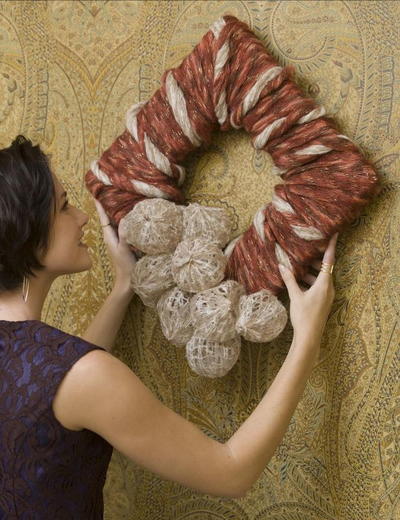
Autumnal Wreath
 Spruce up your front door with this DIY wreath idea for fall. The Autumnal Wreath is a gorgeous yarn craft that will be sure to add a festive touch to any door, wall, or mantel you decide to adorn with it. Embrace the style of the season with fall decorating ideas, it's a sure fire way to get you ready for cooler temperatures. This simply DIY wreath tutorial will keep you company during those extra crisp fall evenings, and your hard work will pay off in no time!
Materials:
- Lion Brand Imagine (Art #525)
- #312 Brown Sugar 2 hanks (A)
- #313 Autumn Leaves 3 hanks (B) or colors of your choice
- Foam wreath
- Balloons
- White craft glue
- Paint brush
- Paper plate
- Sewing needle and thread
- String
- Plastic drop cloth or trash bag
Instructions:
Bobbles
1. Unfold one hank of A. The yarn is constructed as a tube. Gently slide your arm through the yarn tube, grasp the yarn, then pull yarn tube back up your arm to double it.
2. Inflate 8 balloons to about 11 in. (28 cm) circumference, or as desired.
3. Slide balloons into doubled yarn tube. With string, tie a knot on each side of each balloon. Tie a doubled length of string onto one end of yarn tube as a hanging loop.
4. Find a place to hang the tube. You'll be painting glue onto this hanging tube, so cover the surface below the tube with a plastic drop cloth or spare plastic trash bag.
5. Pour glue onto a paper plate. With paint brush, paint glue onto each balloon. Allow glue to dry. Pop each balloon. For a gentle release of air, we suggest popping each balloon close to where you tied it off.
6. Cut the yarn tube between each balloon.
7. Pull popped balloons from yarn tube. Reshape yarn bubbles if needed.
Wreath
1. Unfold one hank of B. Glue one end of B to back of wreath and allow to dry.
2. Wrap B length around wreath until entire length has been used.
3. Cut end of yarn and glue to back of wreath.
4. Repeat with second hank of B until entire wreath is covered.
Finishing
1. Twist remaining A and B yarns together, then wrap twisted strand aroudn wreath.
2. With sewing needle and thread, take a few stitches through the twisted strand to keep it in place.
3. Glue bobbles to wreath.

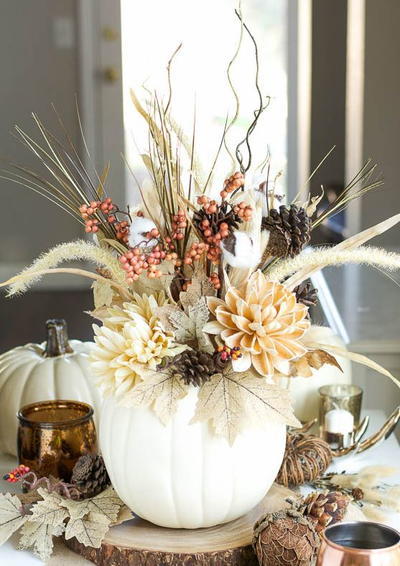
Find more crafts for fall in our FREE eBook: 12 Fall Crafts and Fall Decorating Ideas!
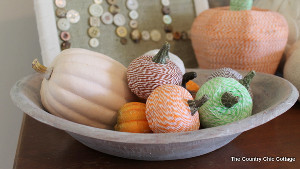
Read NextCandy Corn Button Pumpkins
Your Recently Viewed Projects
Thanks for your comment. Don't forget to share!
Delphine Bryant
Aug 21, 2017
Traditionally wreaths are circular. I have seen square wreaths before but never made or bought one. I like the look of this particular project and I am highly considering making this one. Thanks for the free pattern and inspiration.
Report Inappropriate Comment
Are you sure you would like to report this comment? It will be flagged for our moderators to take action.
Thank you for taking the time to improve the content on our site.