Pine Cone Elf

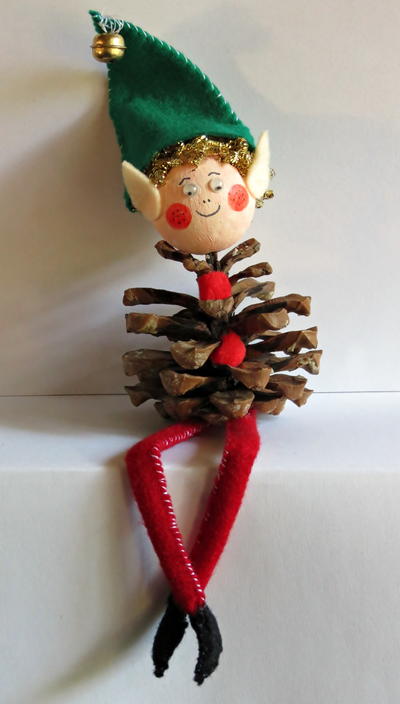
The Christmas season is full of adorable characters like Rudolph and Santa's Elves. Decorate your home this year with the free craft materials you have in your backyard or neighborhood park. Make this cute Pine Cone Elf and sit him on your bookshelf or let him dangle his legs over the edge of an end table. Pine cone projects are the best crafts because the main material you need doesn't cost any money! You can make your own homemade Elf on a Shelf that will be unique from any other and use this pine cone craft year after year.
Materials List
- Provided pattern
- One small open pine cone
- Polystyrene ball with a diameter of 45mm
- Pair of 5mm wiggle eyes
- Two 15mm red pom-poms
- One small golden Christmas bell
- Brass scourer
- One cotton wool ball
- Two pipe cleaners
- Felt in the following colors: green, red, black, and nude
- Nude acrylic paint
- Artline 210 Fineliner black pen
- Red felt-tip pen
- Needle and thread
- Paint brush
- Standard scissors
- Polystyrene glue
- Quick-drying craft glue (such as Bostik Clear)
Instructions
-
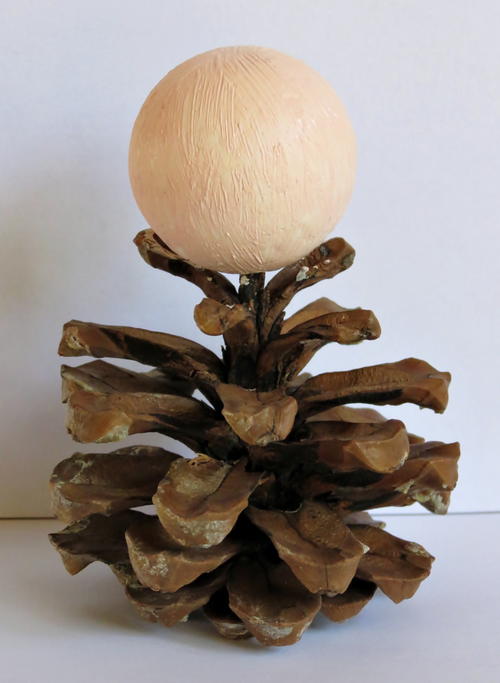
Use the scissors to make a small opening in the polystyrene ball.
-
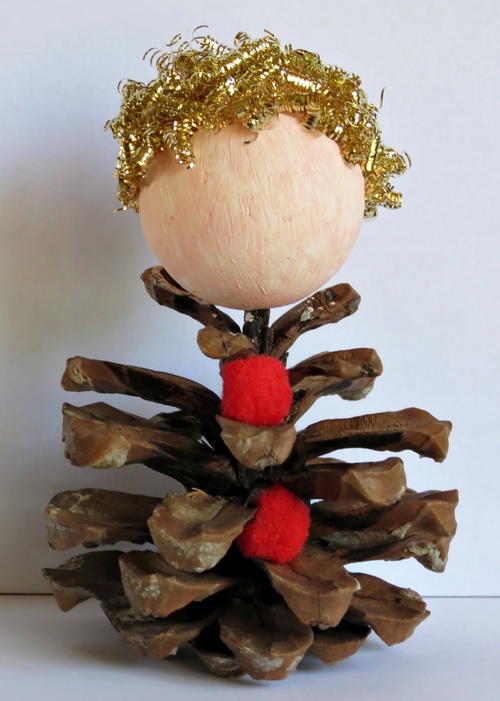
Use the polystyrene glue to affix the ball to the pine cone's top scale.
-
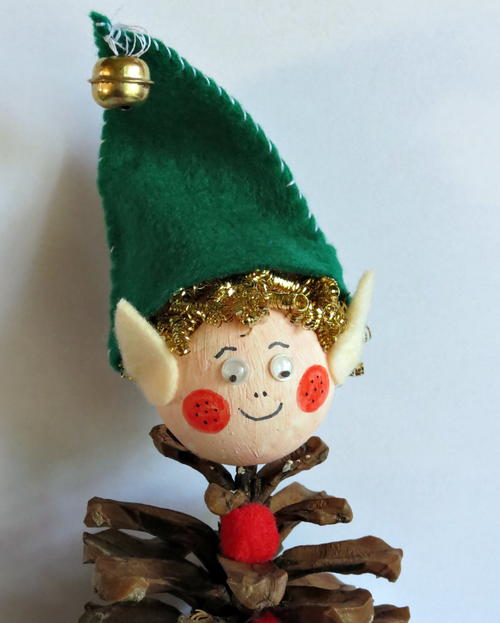
Paint the ball with the flesh paint and allow to dry thoroughly.
-
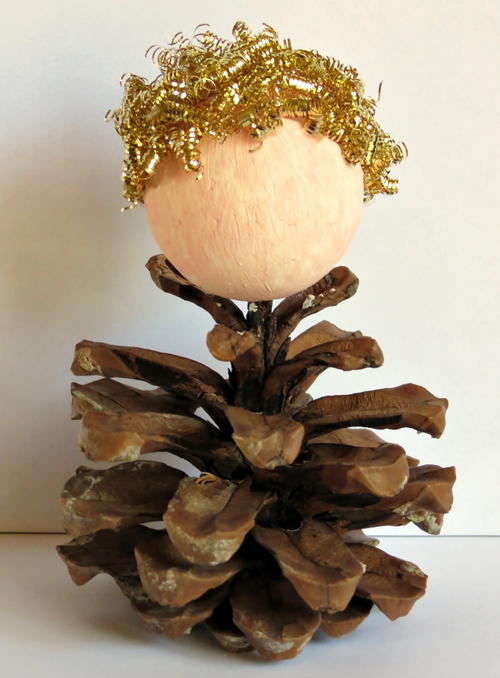
Cut small pieces from the brass scourer and glue it to the ball to make the elf's hair.
-
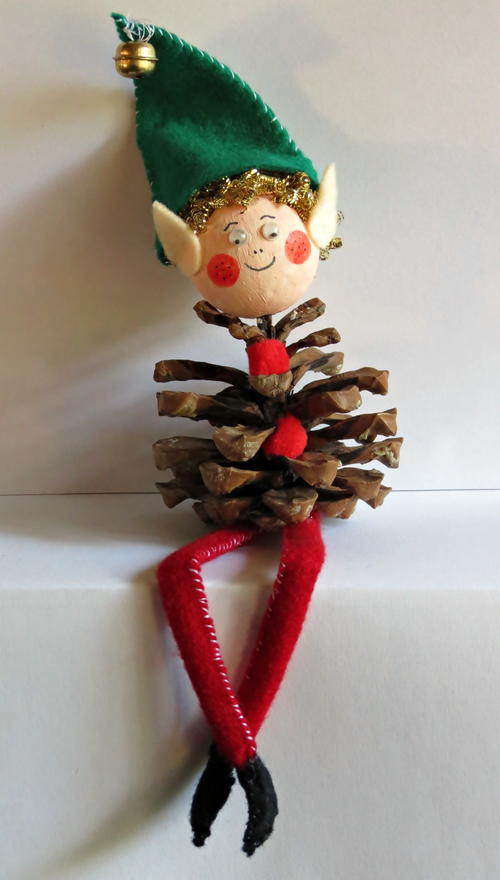
Glue the two red pom-poms to the pine cone to make buttons.
-
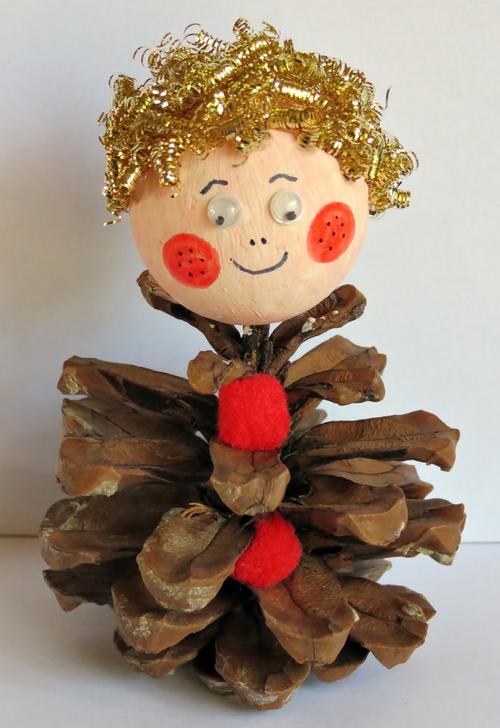
Glue the two wiggle eyes to the elf's face.
-
Use the red and black pens to add the rest of the facial features.
Make the Elf's Hat
-
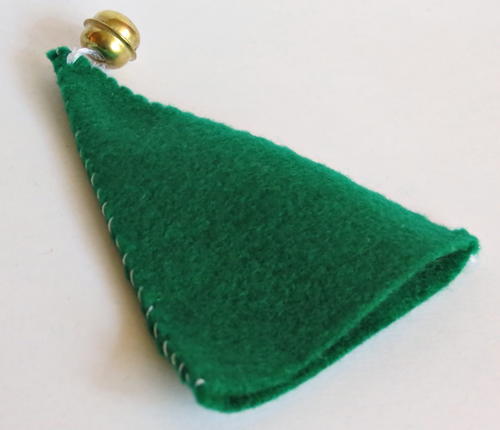
Cut the hat from the pattern sheet and trace it on to the green felt. Repeat, so that you will have a front and back panel for the hat. Cut the two panels out.
-
Use the needle and thread to stitch the sides of the two panels together.
-
Use needle and thread to affix the bell to the end of the hat.
-
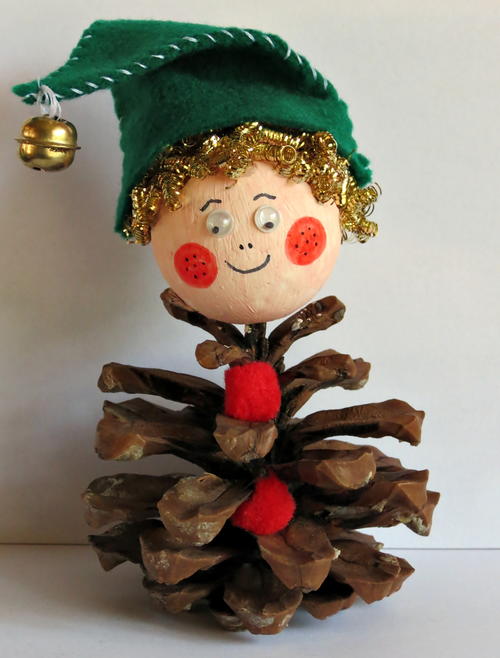
Glue the elf's hat in place.
Make the Elf's Legs
-
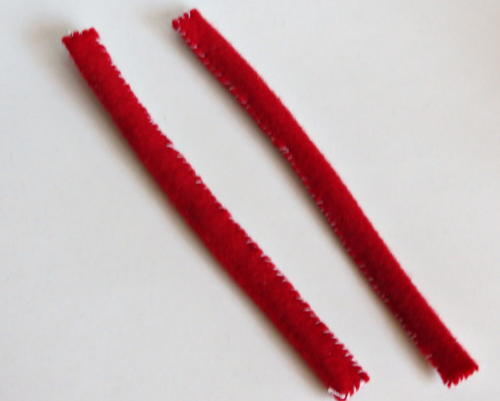
Cut both pipe cleaners to a length of 5.4".
-
To make the trouser legs, cut two strips sized 6" x 0.7" from the red felt.
-
Take the first trouser leg. Fold it in half so that the two long sides will be on top of one another.
-
Stitch up the small opening and then stitch the sides together. Push one of the pipe cleaners into the trouser leg, before stitching up the last opening.
-
Do the same with the second trouser leg.
-
Cut four shoes from the black felt.
-
Take the first two shoes and stitch the sides together.
-
Fill the shoe with a bit of cotton wool. Then, tuck the bottom of the trouser into the shoe and stitch them together. Do the same with the second leg.
Finishing
-
Glue the legs to the bottom of the pine cone.
-
Cut the two teardrops from the flesh felt and glue them to the elf's head as ears.
-
Bend the legs so that the elf can sit on the edge of a table.
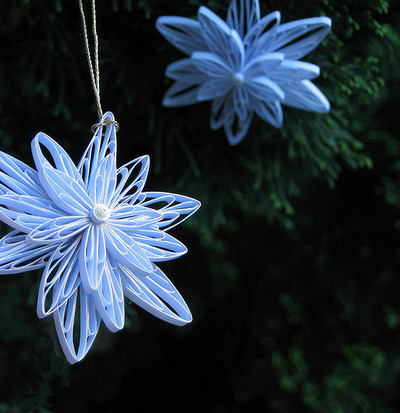
Read NextQuilled Snowflake Ornament
Your Recently Viewed Projects
Thanks for your comment. Don't forget to share!
flowergirl
Nov 15, 2018
I've seen all sorts of pine corn crafts but this one is quite whimsical and unique. The combination of the natural pine corn and felt marries well. If you have some felt in your crafting stash you're already halfway through on the list of materials.
Report Inappropriate Comment
Are you sure you would like to report this comment? It will be flagged for our moderators to take action.
Thank you for taking the time to improve the content on our site.