How to Make Halloween Treat Boxes
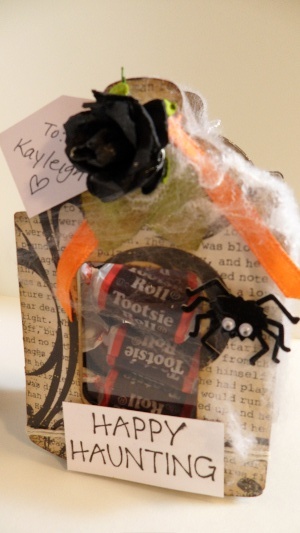
Instead of buying boxes or goodie bags for your spooky Halloween treats, learn how to make Halloween treat boxes with this tutorial from Carlene Eshelman. Your treat boxes can be personalized with all your favorite Halloween embellishments. The best thing about these boxes is that they use recycled packaging materials to create the transparent windows in the box. Of course, if you don't have any plastic to recycle, you can just fill the treat box with a cellophane bag of candies as well.
Materials:
-
Sizzix "Candy Jars" die cut
- cut 2 chipboard dies and 2 scrapbook papers
- cut 1 box bottom using black cardstock - Hot glue/sticks
- Pre-stamped Halloween saying
- Spider webbing
- Spider stickers
- 2 black paper flowers
- 16” tan twine
- 12” orange ribbon
- 2 sets of leaves
- Candy
- Liquid glue
- Optional- plastic packaging for windows or cellophane treat bags
Instructions:
-
Wrap twine around the bottom one of the scrapbook papers. Tape ends to back.
-
Using liquid glue, adhere scrapbook paper die cuts to both chipboard die cuts.
-
Cut recycled plastic to fit 1/4” around windows of chipboards.
-
Glue plastic to back of both chipboard pieces.
-
Prefold box bottom die cut piece, and glue between chipboard pieces.
-
Stretch spider webbing over front of both chipboard pieces.
-
Adhere spiders to both pieces.
-
Glue leaves and black flower to one of the chipboard pieces.
-
Tie orange ribbon around top of second chipboard piece. Then, adhere leaves and flower as in step 8.
-
Choose which chipboard will be the front, and glue the pre-stamped saying to the bottom of it.
- Add candy to box.
Video:
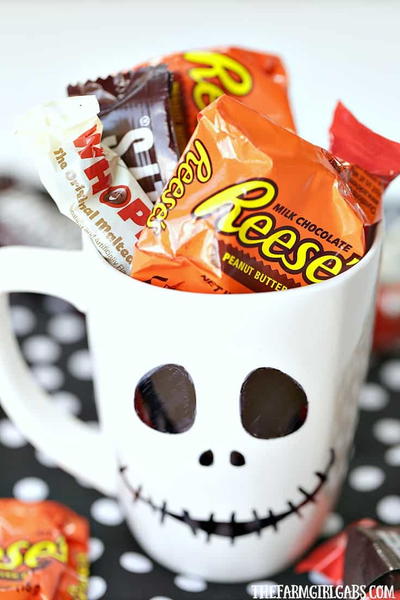
Read NextJack Skellington Sharpie Mug

