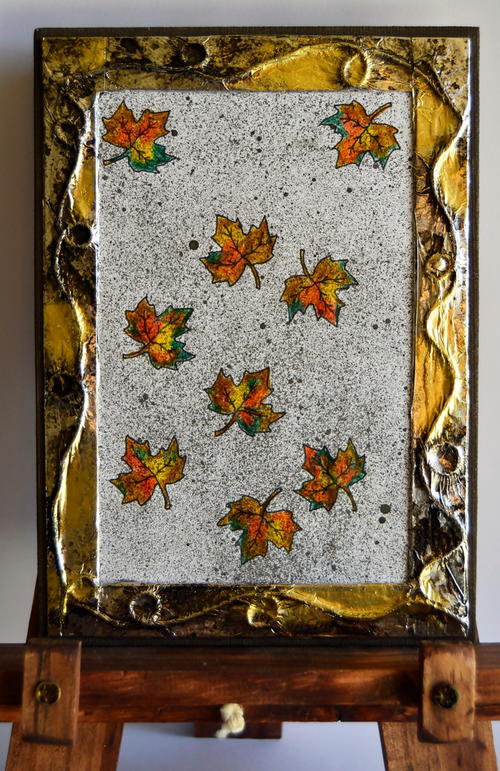
Autumn Leaves Easy Canvas Art

The fall season is the ideal time to make some small changes to your home decor with canvas ideas that evoke thoughts of breezy walks outdoors. This Autumn Leaves Easy Canvas Art is a mini adult coloring project that will add some fall accents to your home, without breaking the bank in the process. You can also use this canvas art DIY idea as part of the decorations for a Thanksgiving table. With art ideas like this, your spirits will be lifted and you'll feel that autumnal inspiration start to flow.
Estimated Cost$31+
Time to CompleteWeekend project
MaterialsPaint, Paper
Primary TechniqueColoring

SeasonFall
Materials List
- Printout of the provided mini adult coloring project
- 5" x 7" (13cm x 18cm) artist's canvas panel
- 4.6" x 6.6" stiff cardstock
- A4-sized piece of aluminum foil
- Thin white twine
- Burnt umber acrylic paint
- Black liquid shoe polish
- Kaisercraft bronze ink glimmer mist
- Rolkem gold dusting powder
- 24-color set of Marco Raffine watercolor pencils
- Revlon Flex Flexi Natural Hold Hairspray
- Quick-drying craft glue (such as Bostik Clear)
- Sellotape
- Two flat paintbrushes
- Standard scissors
- Sheet of newspaper to protect the working area
Instructions
-
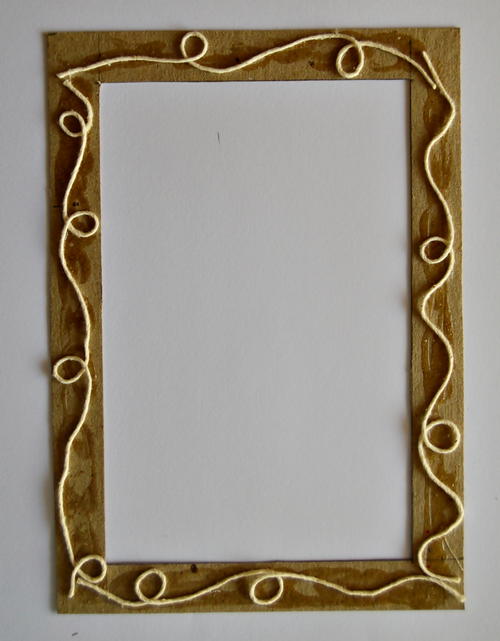
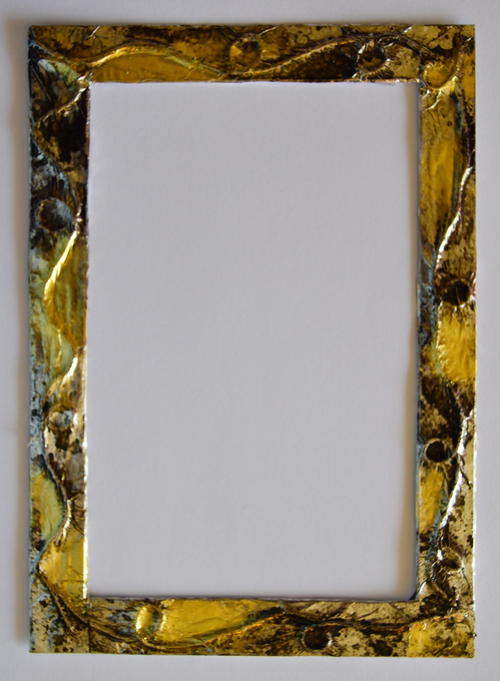
Take the stiff cardstock and cut out the inside, leaving a space of 0.5" from the outer edges of this piece to make a "frame."
-
Glue pieces of twine onto the frame.
-
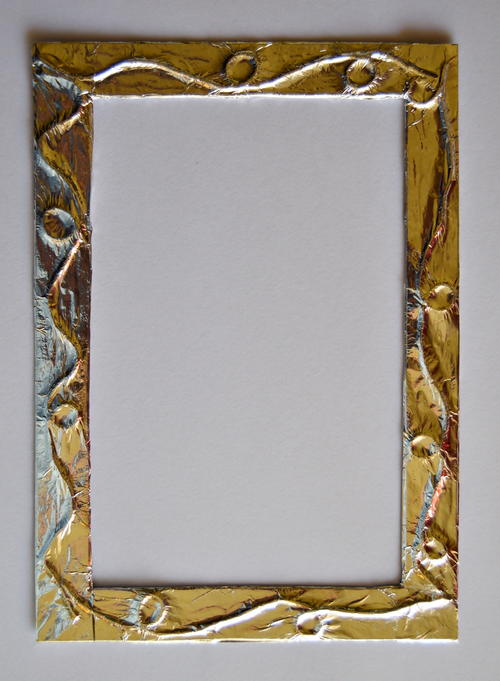
Cut strips of foil and cover each side of the frame with foil. Use sellotape to secure the foil at the back of the frame. Where the strips overlap on the front of the frame, apply glue to the dull side of the foil to keep the foil neatly in place.
-
Use your finger to gently press the foil down around the twine so that the outline of the frame will become clearer.
-
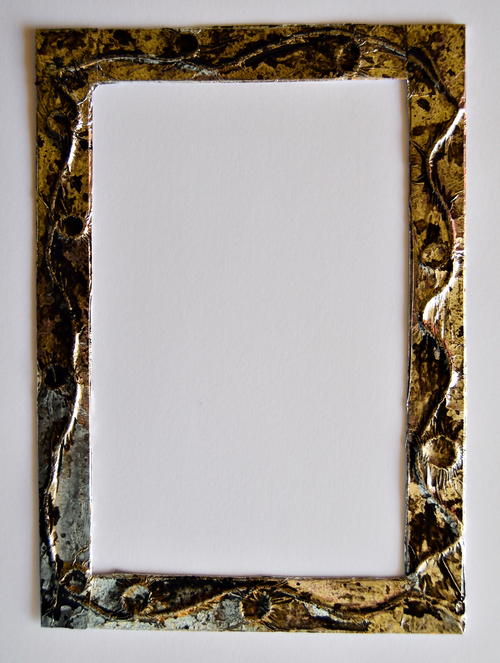
Use the shoe polish to add detail to the foil frame and allow to dry thoroughly.
-
To further enhance the frame, use a dry paintbrush and add gold dusting powder to certain areas of the frame.
-
Spray the frame with the hairspray and allow to dry.
-
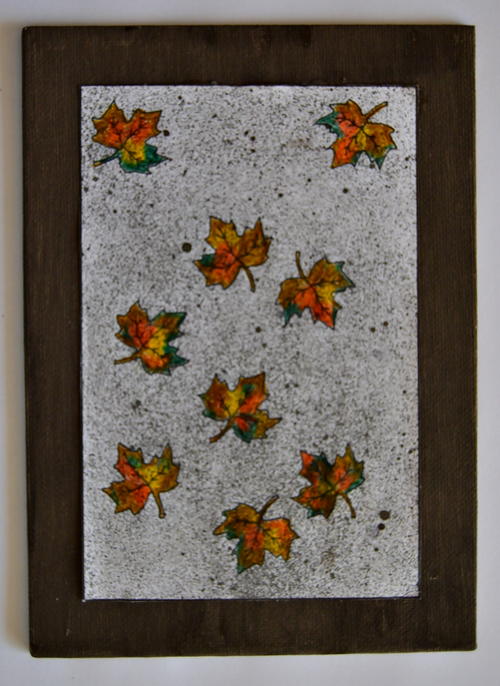
Paint the front and sides of the canvas panel with the burnt umber acrylic paint and allow to dry.
-
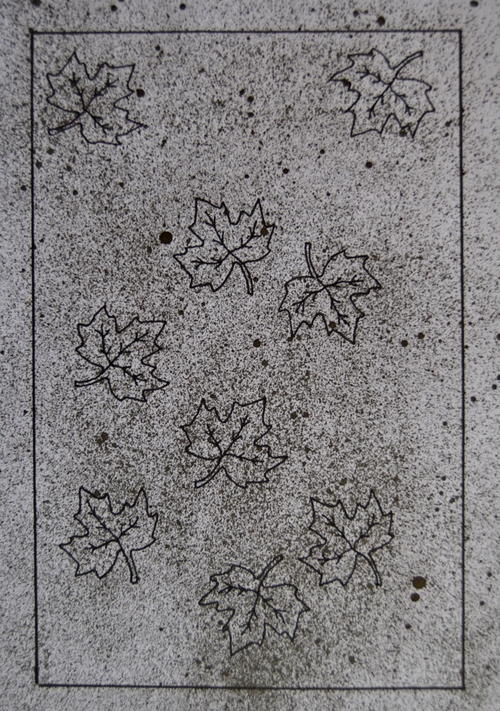
Place the printout on the newspaper sheet. To create a mottled background, spray the design with the ink glimmer mist. To create a finer mist, keep the spray bottle at about an arm's length away from the paper. Allow the paper to dry thoroughly.
-
Working dry on dry, color the leaves, using the following pencils: 505, 506, 508, 545, and 553.
-
Cut out the colored design. Glue the design to the front of the canvas - spread the glue evenly so that the paper will not warp.
-
Glue the frame in place and display on a mini wooden easel.
Up Next:
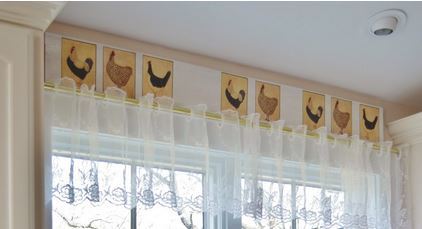
Read NextRustic Rooster Kitchen Craft
Your Recently Viewed Projects
Thanks for your comment. Don't forget to share!
paver2
Oct 19, 2017
That's quite the craft When I first looked at it, I thought it was a tray or something from a store and couldn't imagine what the craft was. Making a frame like that is a secret I had never heard of before. I will definitely try that! It's just beautiful!
Report Inappropriate Comment
Are you sure you would like to report this comment? It will be flagged for our moderators to take action.
Thank you for taking the time to improve the content on our site.