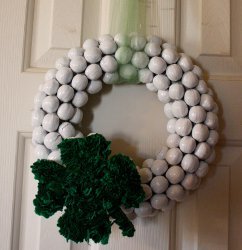
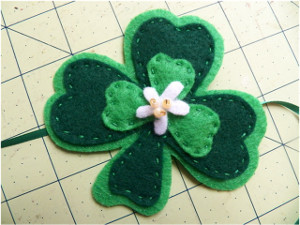
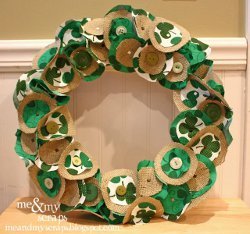
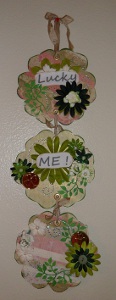
Dangling St. Patrick's Day Door Hanger
If you love making a front door decoration for all of the different holidays, here's a cute idea for you. This Dangling St. Patrick's Day Door Hanger is so much fun to put together and a great St. Patrick's Day craft project to work on this spring! Learn how to make this festive decoration by following the step-by-step tutorial from craft designer Carlene Eshelman.
Materials:
- 3 flower chip board pieces
- Ivory acrylic paint
- Paint brush
- 2 12” x 12” scrapbook papers
- Pencil
- Scissors
- Paper or fabric flowers
- 2 St. Patrick’s Day coins
- Green buttons
- White pearls for flower centers
- Lace scrap
- Hot glue gun
- Liquid glue
- Nail file
- Green ink pad (optional) sticky-back canvas
- Use of computer/printer vintage photo distress ink
Instructions:
1. Paint edges and a 1” border on front of flower chipboard pieces.
2. Paint back of flower chipboard pieces. Let dry.
3. Place scrapbook paper face up on table. Place front of chipboard, face up.
4. Use pencil to trace around chipboard. Cut out.
5. Repeat steps 3 and 4 to other chipboard pieces, in case chipboard sizes vary.
6. Glue paper to coordinating chipboard pieces using liquid glue.
7. Use nail file to distress edges of chipboard.
8. Edge chipboard with green ink pad.
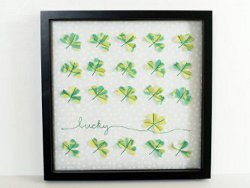
9. Use a computer to write the words “lucky me”. Print on to sticky canvas (optional) or just print on to white cardstock.
10. Cut around words so that you have two separate pieces.
11. Distress words with vintage photo ink.
12. Start arranging the word “lucky” on to first flower chipboard, and arrange “me” on to the second chipboard piece. Add other embellishments as desired.
13. Glue down your embellishments to complete the first and second chipboard pieces.
14. For the last flower chipboard, glue your lace scrap to the middle. This will be an area reserved for a picture.
15. Arrange other embellishments around lace.
16. Glue down embellishments.
Video:
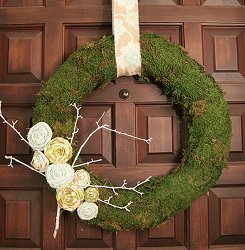
Read NextSpring Forest Wreath