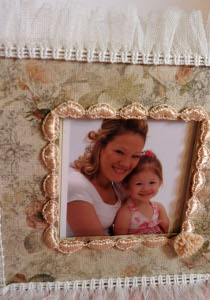
How to Make a Custom Photo Box
Homemade Mothers Day gifts don't get much more special than this! Create something she'll cherish forever with this tutorial for How to Make a Custom Photo Box. Use pretty scrapbook paper and other embellishments to decorate your keepsake box and make it unique just for her! Follow craft designer Carlene Eshelman's step-by-step tutorial to see how it's done.
Materials:
- Graphic 45 5” x 5” art box
- Two 6” x 6” scrapbook papers
- Paper trimmer
- Adhesive
- Glue gun/sticks
- One 12” piece peach color trim
- One 22” piece white trim
- Peach heart embellishment
- Ruler
- 3” x 3” photo
- Pencil
Instructions:
1. Cut one 6" x 6" paper into four 1 ¼” x 5 1/8” strips.
2. Cut the other 6" x 6" paper into a 5 1/8” square.
3. Take strips and lay on top of frame area on box. Place bottom and top, then sides down.
4. With pencil draw a diagnal line from edge of photo frame to outside edge of box.
5. Repeat for all four corners.
6. Cut on pencil lines.
7. Glue top and bottom strips down.
8. Glue side strips down.
9. Glue peach trim along photo frame area.
10. Glue white trim around outer edge of box.
11. Glue heart embellishment in right bottom corner of photo frame.
12. Open flap of box and glue 5 1/8” square to next page.
13. Glue photo onto square. Make sure it is centered in photo window.
Video:
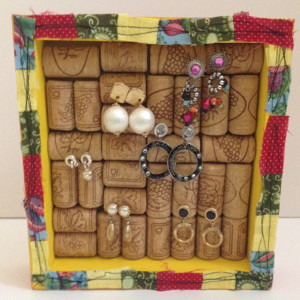
Read NextDIY Earring Holder for Mother's Day