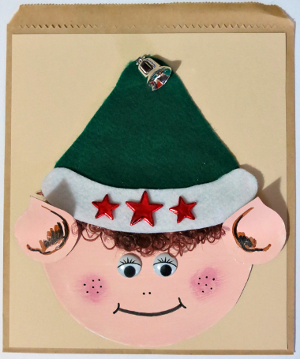
Elf DIY Goodie Bag
This Christmas, don't spend all your money on those pesky goodie bags. This great Elf DIY Goodie Bag tutorial will show you how to make a goodie bag with ease. With a few simple materials, a little creativity, and time, you will have a festive and unique goodie bag to give to your friends or family. Fill it with cookies or candies, and you will be ready to share the seasons wishes. This sweet elf will definitely bring a smile to anyone's face.
Materials:
- Template provided
- 8.4” x 7.1” brown paper bag
- 7.6” x 6.6” vanilla cardstock
- Two 9” wide white economy paper plates
- Green and white felt
- One pair of 15mm white wiggle eyes
- Curly brown synthetic doll’s hair
- Small silver bell
- Three red stars
- Flesh colored acrylic paint
- Brown, dark pink and black colored felt-tip pens
- Thin paintbrush
- Standard scissors
- Pencil
- Ruler
- Quick-drying craft glue, such as Bostik Clear
Instructions:
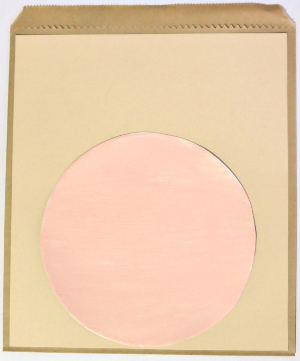
- Center and glue the vanilla cardstock to the front of the bag.
- Cut out the inner circle of one of the paper plates, and paint it with the flesh colored paint. Allow to dry thoroughly.
- Cut out the inner circle of the second paper plate. Trace the ears onto this and cut them out.
- Paint the ears with the flesh colored paint. Allow to dry thoroughly before turning them over and painting the back of the ears.
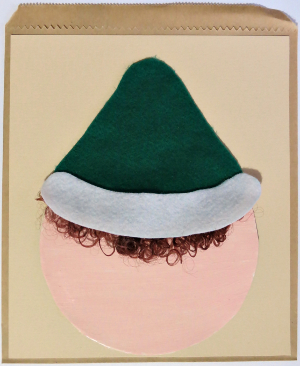
- Glue the face to the bottom part of the bag.
- Trace the hat onto the green felt and the rim of the hat onto the white felt, and cut out both pieces of the hat.
- Glue the hair in place, and add the hat and the rim.
- Add some detail to the ears with the black and brown felt-tip pens.
- Slightly bend the ears and then glue in place, putting glue only to the bottom part of each ear.
- Add the wiggle eyes and draw a mouth with the black felt-tip pen.
- Use the dark pink felt-tip pen to add cheeks. Draw a small circle on each side of the face, and while the pen’s ink is still wet, lightly rub over it with your finger to obtain a smudged effect.
- Add small freckles and a nose.
- Glue the red stars on the rim of the hat.
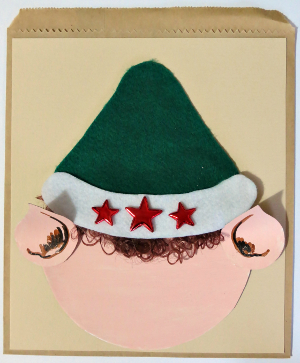
- Add the little bell to the top of the hat.
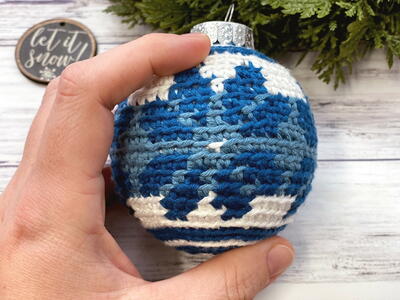
Read NextFair Isle Crochet Ornament